We carry a full line of Swix and Toko Waxes & Accessories.
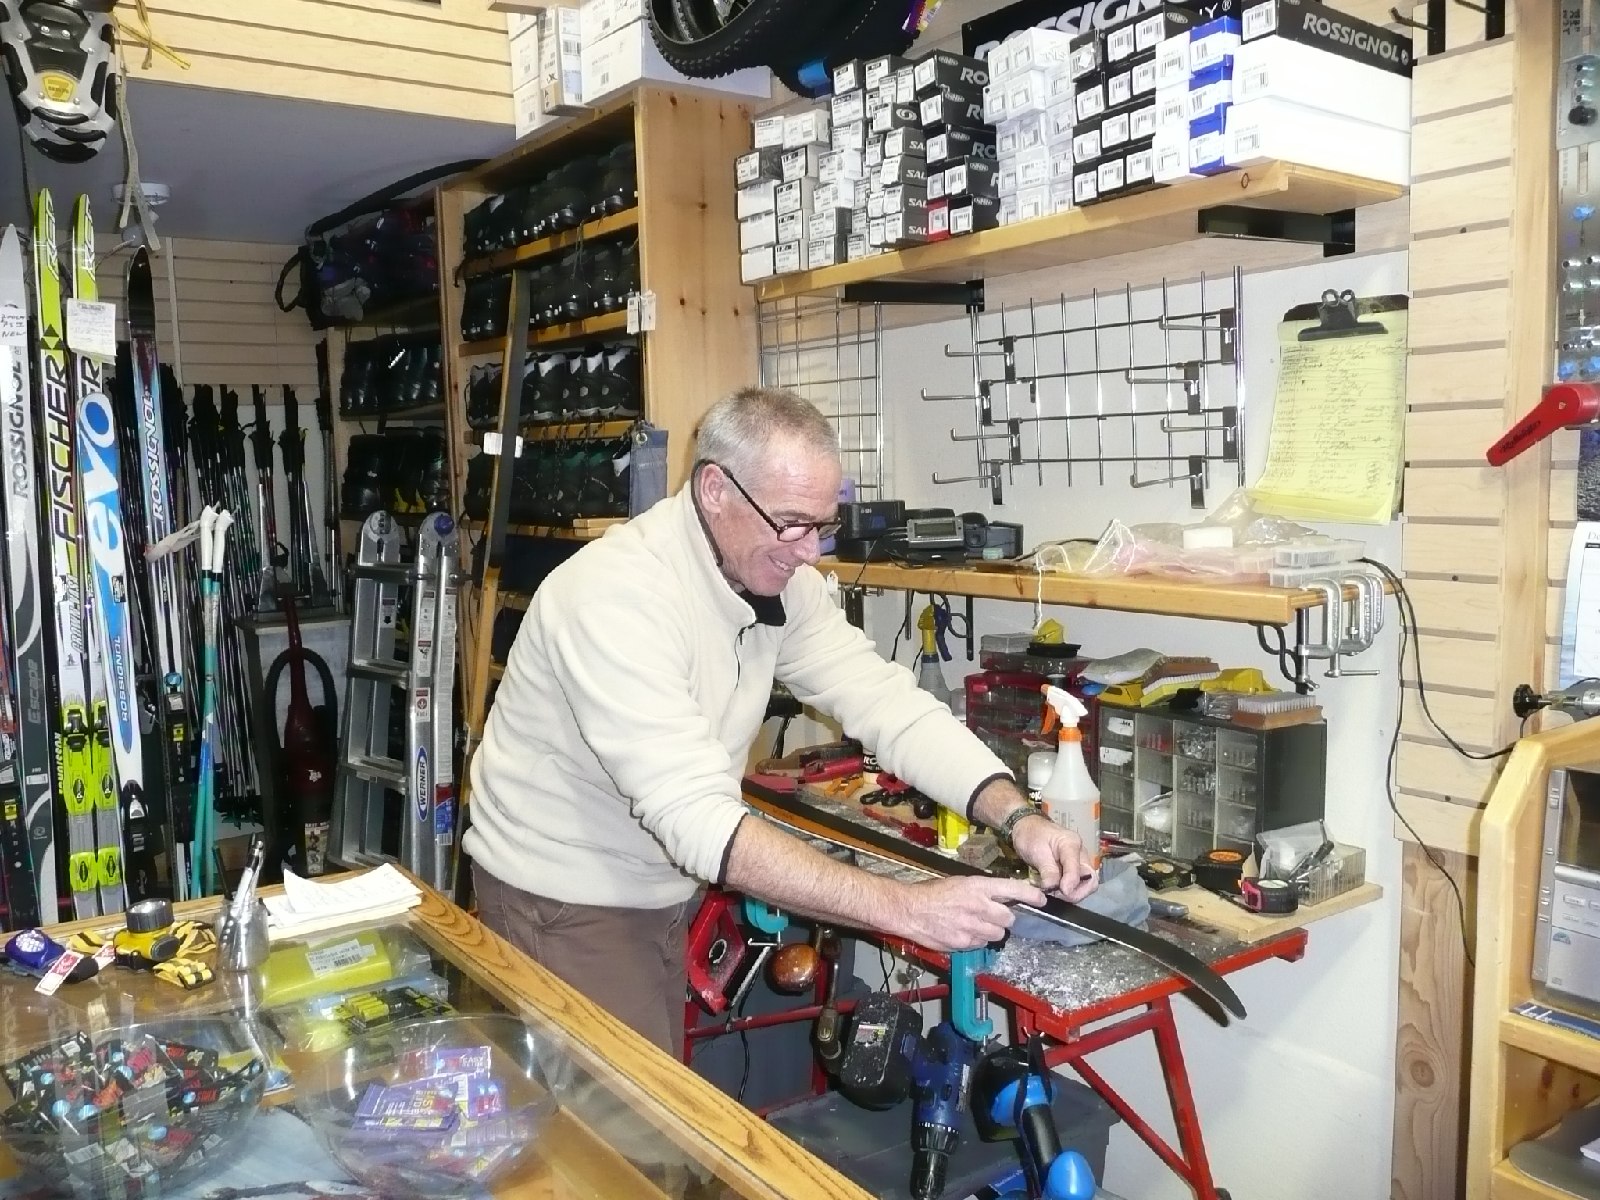
No time? Let us wax your skis.
For all your ski wax needs come into our shop.
3059 Chateau Road Mammoth Lakes
Tel (760) 924.8566
Glide Waxing
Instructional Video: How to Glide Wax and Base Prep
Want to learn how to wax your own skis? Here's an instructional video Brian did for the high school kids on glide waxing and base preparation, designed for classic, touring and back country skis.
Dry Skis or Dirty Bases Result in Slow Skis
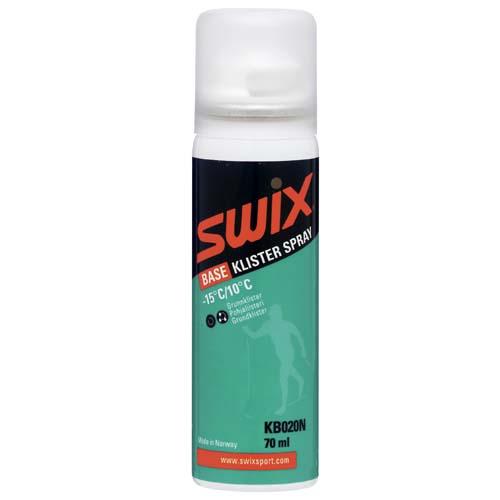
If you have waxless touring skis the tip and tails can be treated with hotwax. The middle of the ski generally has a waxless base, with what the nordic ski world calls "fish scales". This area should not be treated with hotwax but rather a liquid glide wax.
Steps to wax your skis
Step 1: Cleaning Your Skis 1. Use a scraper to remove any debris that is on the base. 2. Apply the base cleaner and wait around 60 seconds. 3. Wipe clean with Swix Fiberlene Paper or a soft, clean rag.
Step 2: Wax the Tips and the Tails You can either use a hot wax or a liquid glide wax on the tips and the tails to improve glide.
1. Apply the Swix glide wax by melting the wax onto the ski (not on the fish scales, though) - drip the wax on first then wax it in. Don't let the ski get too hot. 2. Let the wax dry - usually around 15-20 minutes 3. Scrape off the wax using a plastic scraper until no more wax is removed. Don't forget the ski edge and middle groove.
If you don't want to use a hot wax (and the mess it does make) then a liquid glide wax will work, but it may not last as long.
1. Apply the liquid glide wax such as the Swix F4 Glide wax on the glide zones. 2. Let the ski dry and then it is ready to use.
Step 3: Wax the Kick Zone The wax zone of a waxless ski (scales in the kick zone) should be treated with a liquid wax such as the Swix F4 Glide wax or the Toko Express Mini Wax. The kick zone can be treated with this wax every time you go out and ski. As you can see this wax can be applied to the entire base, as needed. For a waxable ski in the kick zone, either a hard wax or klister should be applied, taking into consideration temperature, humidity and age of the snow.